Prism Plunge: read two bands ahead before you hold
Prism Plunge rewards choosing when to stop as much as choosing when to descend. Holding breaks the colored rings, while releasing lets the ball wait safely. The dark segments marked with crosses end an ordinary attempt. Later towers make the safe lane move differently from one band to the next.
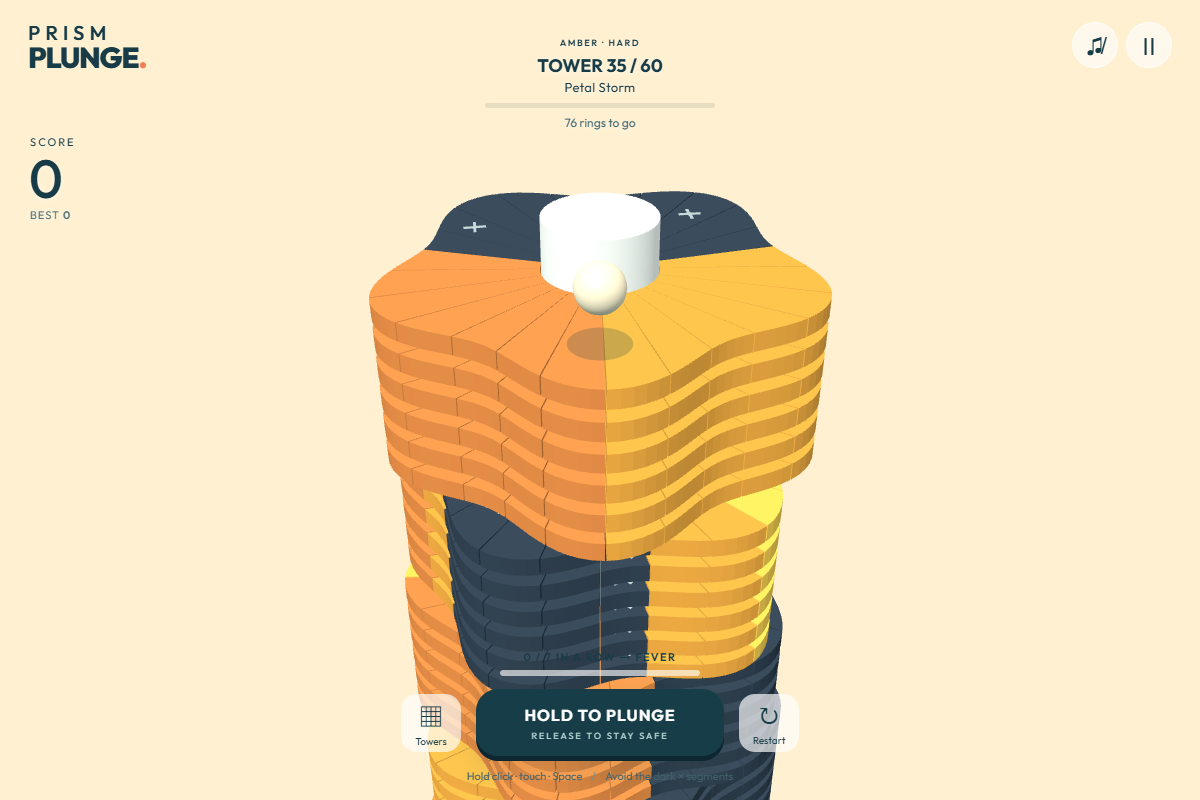
Watch the next band as well as this one
A clear colored area directly under the ball does not guarantee a clear route below it. Before holding, check the visible layers beneath the current ring. Release before the next dark region arrives, then wait for its colored area to rotate into reach. A short hold that removes only a few rings still makes progress; you do not need to maintain an uninterrupted descent.
What fever actually buys you
Seven ordinary breaks during one uninterrupted hold trigger 0.95 seconds of fever. The orange ball can then break both colored and dark segments. These fever breaks award 25 points per ring instead of the ordinary 10, but they never recharge fever. A tower finish adds 50 points. Treat the effect as a brief opportunity, not permanent protection: inspect the next dark region before the effect ends. Releasing to stay alive is more useful than forcing a seventh break through a hazard.
Change your rhythm with the chapter
Lagoon starts with broad safe lanes. Coral introduces offsets and split arcs. Cobalt emphasizes neighboring bands rotating in opposite directions, so waiting for one band can move another away from alignment. Amber adds speed pulses; Violet adds smooth reversals. Midnight combines these patterns. Each chapter contains ten towers. A rhythm that works early in a chapter may need shorter holds when the next tower increases hazard coverage.
Use retries to study a specific transition
Retries use the same layout, starting orientation and rotation rules. When an attempt fails, identify the transition that caused it: entering a new band, mistiming a reversal, or remaining held after fever. On the next attempt, release slightly earlier at that transition and observe the alignment. Randomly holding for a different duration across the whole tower makes it harder to learn which change helped.
Progress between sessions
Clearing a tower unlocks the next one, and the chapter map shows unlocked towers and best scores. Completed progress and sound preferences save on this device. Unfinished descents restart when the game reloads. The current 60-tower campaign has its own score records; old scores from the former 12-tower edition do not describe these new layouts.
About this guide
Rules checked against this edition’s game code and interface. The screenshot shows the actual game. Strategies are suggestions; they do not guarantee a particular score.